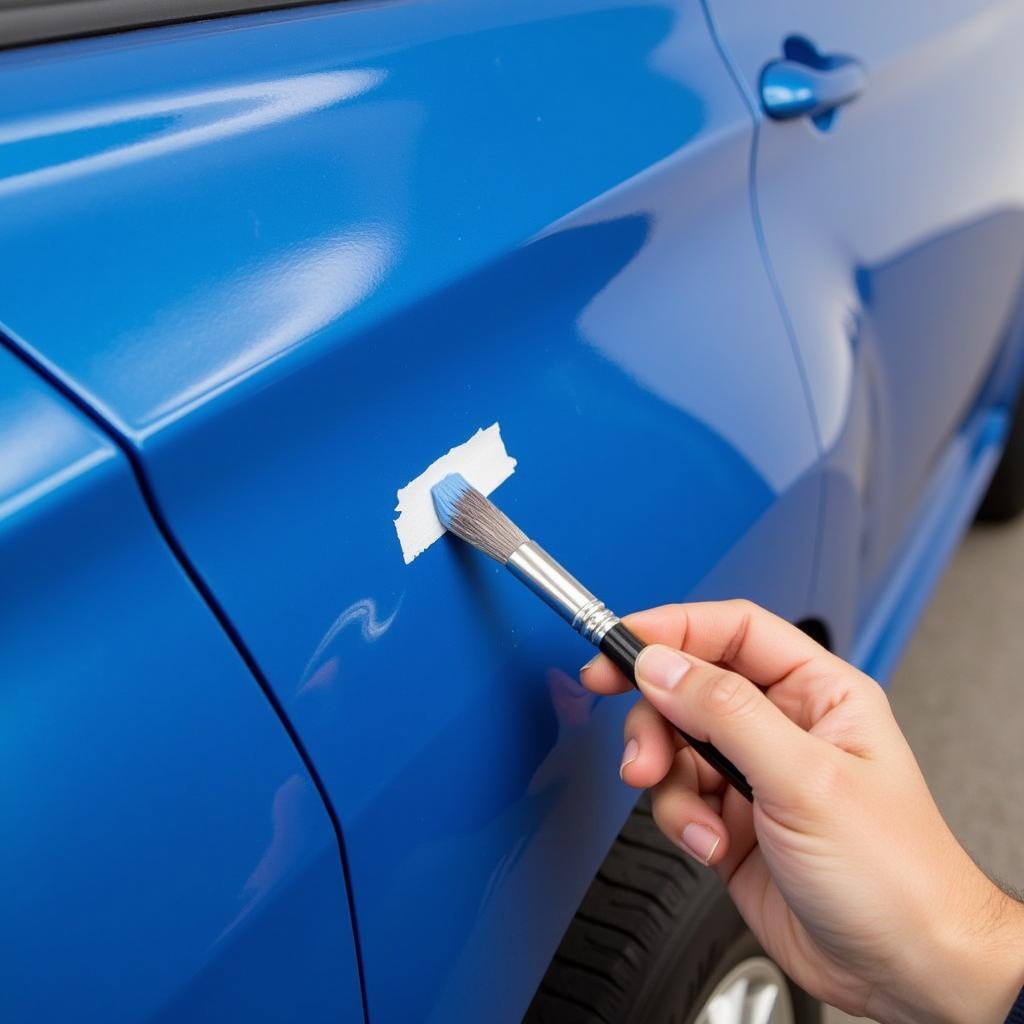
Fixing a very small nick in your car door is often a simple DIY project that can save you time and money. In this comprehensive guide, we’ll walk you through the process of repairing minor car door nicks, restoring your car’s appearance, and protecting it from further damage. Let’s get started!
Fixing small nicks in your car door is easier than you think. With a few readily available tools and a little patience, you can achieve professional-looking results right in your driveway.
Assessing the Damage and Gathering Supplies
Before you begin, it’s crucial to assess the extent of the damage. Is it just a superficial scratch or a deeper chip that has reached the metal? This will determine the appropriate repair method. For very small nicks, you’ll likely need the following:
- Touch-up paint: Purchase the correct color code for your car. This information is usually found on a sticker inside the driver’s side doorjamb or in your owner’s manual.
- Applicator: A touch-up paint pen or a fine-tipped brush provides the best control for small nicks.
- Rubbing compound: This helps blend the touch-up paint and remove any excess.
- Wax and polish: These protect the repaired area and restore shine.
- Masking tape: Protects the surrounding area from accidental paint spills.
- Microfiber cloths: For cleaning and polishing.
If the nick has exposed the metal underneath, you might want to consider using a primer before applying the touch-up paint to prevent rust. You can find more information on repairing deeper scratches in our guide on [how to fix a paint scratch on car](https://autotippro.com/how-to fix-a-paint-scratch-on-car/).
How to Fix the Nick: A Step-by-Step Guide
Now that you’ve gathered your supplies, let’s fix that nick!
- Clean the area: Thoroughly clean the nicked area with soap and water, then dry it completely. This ensures the paint adheres properly.
- Mask the surrounding area: Apply masking tape around the nick to protect the undamaged paint.
- Apply the touch-up paint: Carefully apply a small amount of touch-up paint to the nick, ensuring it fills the entire cavity without overflowing. Less is more!
- Let it dry: Allow the touch-up paint to dry completely. This may take several hours, or even overnight, depending on the paint and the weather conditions.
- Level the surface: If the paint builds up slightly, gently level the surface with very fine-grit sandpaper (2000-grit or higher) and rubbing compound, being careful not to scratch the surrounding paint.
- Wax and polish: Once the area is smooth, apply a coat of wax and polish to restore the shine and protect the repaired area.
 Applying Touch-up Paint to a Small Car Door Nick
When to Seek Professional Help
While minor nicks are easily fixed at home, more extensive damage may require professional attention. If the nick is deep, has cracked the paint significantly, or involves dented metal, it’s best to consult a professional for a car paint fix.
“Addressing even minor paint chips promptly prevents rust and maintains your car’s value,” advises automotive expert, John Ramirez, Certified Collision Repair Technician. “A small nick can turn into a big problem if left untreated, especially in harsh weather conditions.”
How Long Does the Repair Take?
The actual application of the touch-up paint only takes a few minutes. However, the drying and curing time can vary depending on the type of paint used and the environmental conditions. Plan for at least a few hours, preferably overnight, for the paint to dry completely.
If you’re interested in repairing other car interior damage, check out our guide on how to fix a cut in leather car seat.
Conclusion
Fixing a very small nick in your car door is a manageable DIY project that can save you money and keep your car looking its best. By following these simple steps, you can achieve professional-looking results and protect your car from further damage. Remember, a little preventative maintenance goes a long way! Need help? Connect with us at AutoTipPro, +1 (641) 206-8880, 500 N St Mary’s St, San Antonio, TX 78205, United States.


Leave a Reply