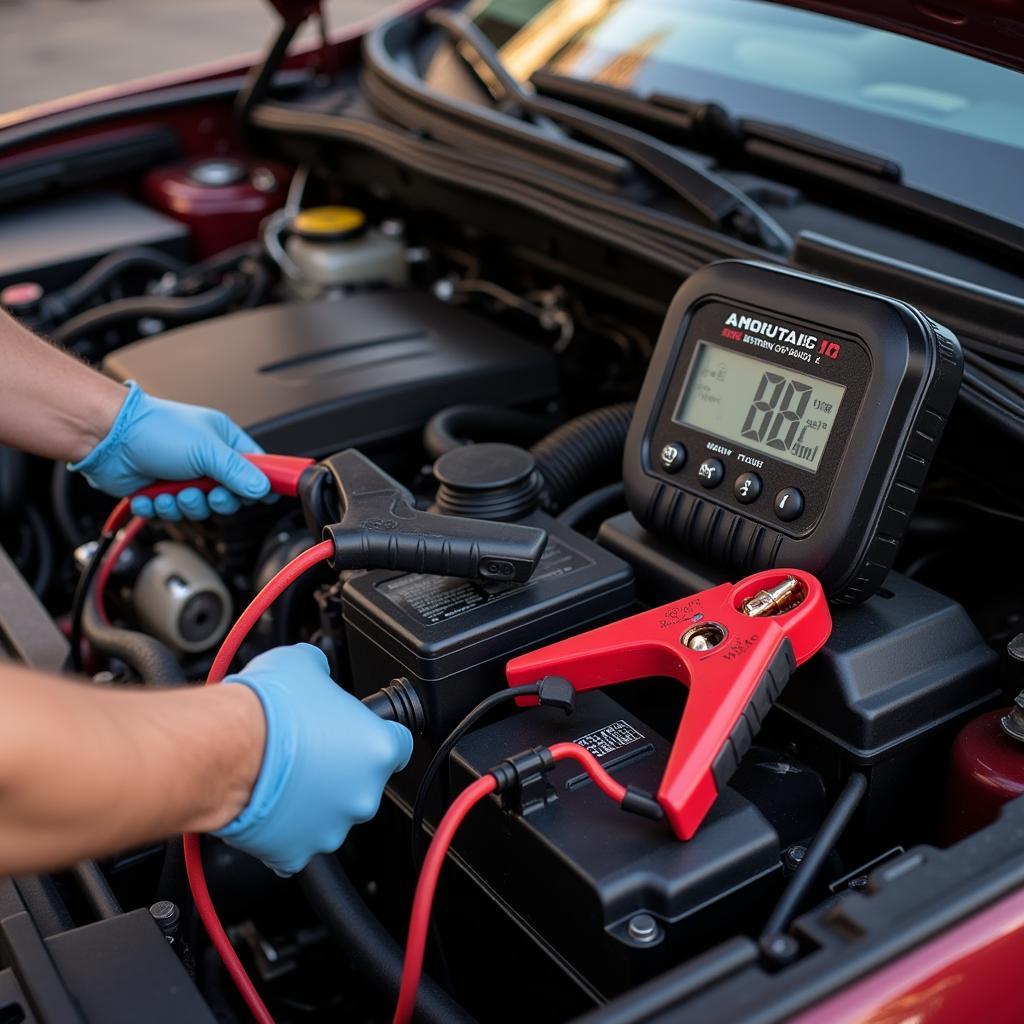
There’s nothing worse than a car AC that’s blowing hot air, especially on a scorching summer day. If you’re experiencing this issue, you’re not alone. “How To Fix Ac Not Blowing Cold Air Car” is a common search query, and luckily, there are several things you can check and fix yourself before taking your car to a mechanic. This guide will take you through the possible causes and solutions to get your car’s AC back to blowing cold air in no time.
Understanding Your Car’s AC System
Before diving into troubleshooting, it’s helpful to understand the basics of how your car’s AC system works. The system uses a refrigerant, typically R-134a, to cool the air. The refrigerant circulates through a closed system of components including a compressor, condenser, evaporator, and expansion valve. The compressor pressurizes the refrigerant, causing it to heat up. The hot refrigerant then travels to the condenser, where it’s cooled by air flowing over its fins. The cooled refrigerant then passes through the expansion valve, which lowers its pressure and temperature, causing it to evaporate and absorb heat from the surrounding air. The now cold air is then blown into the car’s cabin.
Common Causes of a Car AC Not Blowing Cold Air
Now, let’s look at the most common reasons why your car’s AC might not be blowing cold air:
1. Low Refrigerant Level: This is the most common culprit. If your system has a leak, the refrigerant level can drop, leading to poor cooling.
2. Electrical Issues: The AC system relies on several electrical components, such as the compressor clutch, blower motor, and control module. A faulty wiring harness, blown fuse, or malfunctioning relay can disrupt the system’s operation.
3. Compressor Problems: The compressor is the heart of the AC system, and if it’s failing, the system won’t be able to pressurize and circulate the refrigerant properly.
4. Condenser Issues: A dirty or damaged condenser can prevent the refrigerant from cooling efficiently.
5. Expansion Valve or Orifice Tube Blockage: These components regulate refrigerant flow and pressure. A blockage can restrict refrigerant flow and impact cooling.
6. Cabin Air Filter: While not directly related to the AC system, a clogged cabin air filter can restrict airflow, making the system seem less effective.
Do you suspect a leak in your AC system? Learn how to identify and address this issue by reading ” how to fix a leaking air conditioner car“.
Troubleshooting and Fixing the Problem
Here’s a step-by-step guide to help you diagnose and fix your car’s AC issue:
1. Check the Refrigerant Level
You can purchase a DIY AC refrigerant recharge kit at most auto parts stores. These kits usually come with a gauge that will indicate if the refrigerant level is low. Important: If you suspect a leak, it’s best to take your car to a professional mechanic to have the leak repaired before recharging the system.
2. Inspect the Electrical Components
Check the fuses and relays related to the AC system. Refer to your owner’s manual for their location. Inspect the wiring harness for any visible damage or loose connections. If you’re comfortable with electrical work, you can use a multimeter to test the continuity of the wiring and the functionality of the compressor clutch and blower motor.
3. Examine the Compressor
Visually inspect the compressor for any signs of damage or leaks. Check if the compressor clutch is engaging when you turn on the AC. You can do this by observing the center of the compressor pulley. It should rotate when the AC is on.
“Regular maintenance, including AC checks, can prevent many common problems and ensure your car stays cool and comfortable throughout the year.” – John Miller, Senior Automotive Technician at Autotippro.
4. Inspect the Condenser
The condenser is located at the front of the radiator. Check for any debris, leaves, or bugs obstructing airflow. Straighten any bent fins carefully using a fin comb.
5. Check the Expansion Valve or Orifice Tube
These components are typically located near the firewall on the passenger side. Accessing them may require removing some components. If you suspect a blockage, it’s best to consult a professional mechanic.
6. Replace the Cabin Air Filter
Refer to your owner’s manual for the location of the cabin air filter. It’s usually located behind the glove compartment or under the dashboard. Replacing the filter is a simple DIY task.
Still struggling with your car’s AC? Check out our guide on how to fix leaky air conditioner car for additional solutions.
When to Seek Professional Help
While some AC issues can be resolved with DIY fixes, others require the expertise of a qualified mechanic. If you’ve checked the basic components and haven’t been able to identify the problem, or if the issue seems more complex, it’s best to take your car to a professional. Additionally, refrigerant handling requires specialized equipment and knowledge, so it’s best left to the professionals.
Conclusion
A malfunctioning car AC can be a frustrating experience, but by understanding the common causes and following the troubleshooting steps outlined in this guide, you can often pinpoint the issue and potentially fix it yourself. However, always remember that working with refrigerant and automotive electrical systems can be dangerous, so if you’re unsure about any step, don’t hesitate to seek professional help.
“Ignoring AC problems can lead to more severe and costly repairs down the line. Early detection and maintenance are key to keeping your car’s AC running smoothly.” – John Miller, Senior Automotive Technician at Autotippro.
Need expert assistance with your car’s AC? Contact AutoTipPro at +1 (641) 206-8880 or visit our office located at 500 N St Mary’s St, San Antonio, TX 78205, United States. Our team of certified technicians is here to help you stay cool on the road.


Leave a Reply