Air bubbles in your car’s paint can be a real eyesore, detracting from its overall appearance and potentially indicating a more serious underlying issue. Whether you’re a seasoned car enthusiast or a novice just starting out, knowing how to fix these pesky bubbles is a valuable skill. This guide will provide you with a comprehensive understanding of why air bubbles form in car paint and equip you with the knowledge and techniques to address them effectively.
Fixing air bubbles in car paint requires a methodical approach. First, you need to identify the cause, which could range from improper paint application to underlying rust. Fixing air bubbles on car stickers can be a different process altogether. Then, based on the severity, the solution might involve anything from a simple wet sanding and buffing to a more involved process of stripping the affected area and repainting.
Understanding the Causes of Air Bubbles in Car Paint
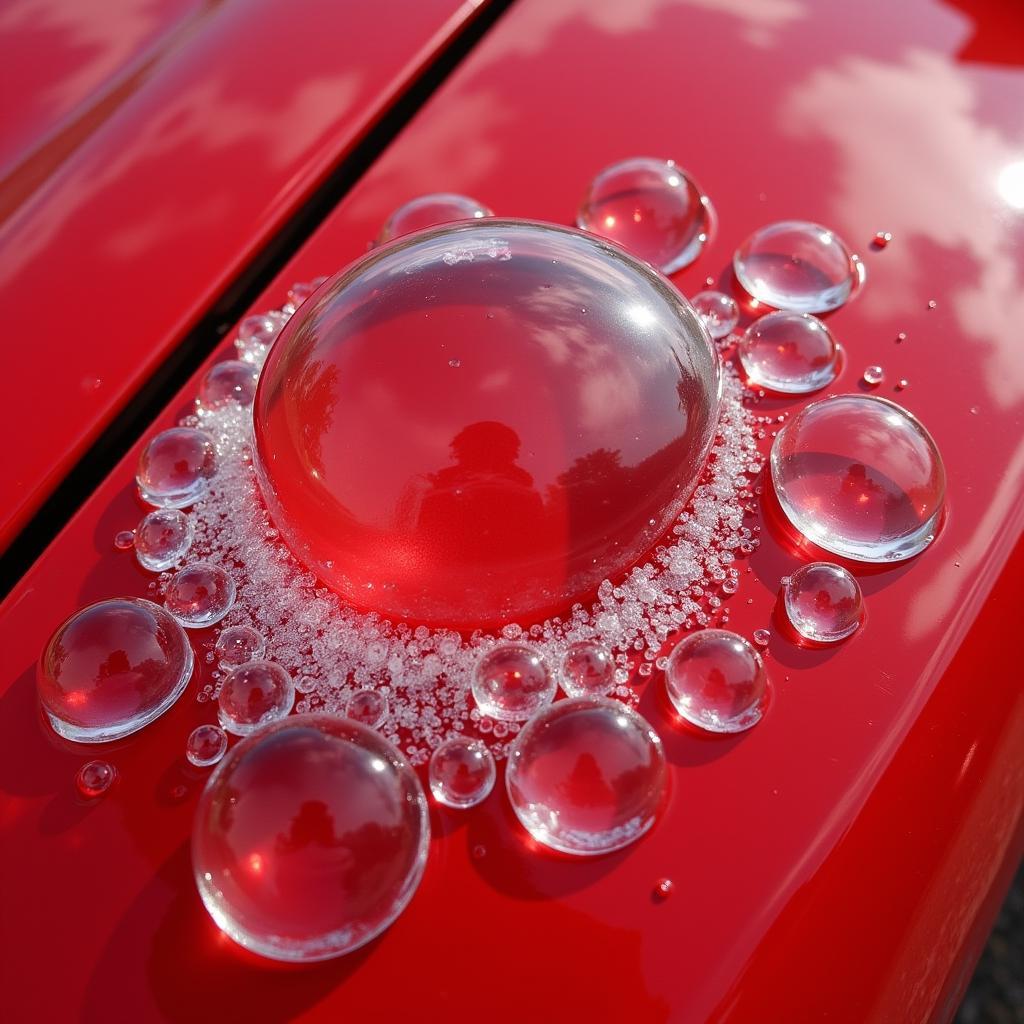
Air bubbles, often referred to as “solvent pop” or “blistering,” occur when solvents trapped beneath the paint film expand and push outwards. Several factors can contribute to this:
- Improper Paint Preparation: Inadequate cleaning or failing to remove old paint or rust can trap contaminants beneath the new paint layer.
- Moisture Contamination: Water in the air compressor, thinner, or even the car’s surface can become trapped and later vaporize, creating bubbles.
- Incorrect Paint Application: Applying paint too thickly or in excessively humid conditions can prevent proper drying and lead to solvent entrapment.
- High Temperatures: Exposing freshly painted surfaces to extreme heat can cause rapid solvent evaporation and bubble formation.
 Close-up of air bubbles in car paint
How to Fix Air Bubbles: A Step-by-Step Guide
Depending on the severity of the bubbling, different approaches are required. Here’s a step-by-step guide to help you through the process:
- Assessment: Carefully examine the affected area. Determine the size and number of bubbles. This will help you determine the best course of action.
- Surface Preparation: Wash the area thoroughly with soap and water, then dry completely.
- Sanding: For minor bubbling, wet sand the affected area with fine-grit sandpaper (1500-2000 grit) until the surface is smooth. For more severe bubbling, you might need to sand down to the bare metal.
- Priming (If Necessary): If you’ve sanded down to the metal, apply a thin, even coat of automotive primer.
- Repainting: If the bubbling was significant, repaint the area using thin, even coats. Allow each coat to dry completely before applying the next.
- Clear Coat Application: Apply a few coats of clear coat for protection and shine.
- Buffing and Polishing: Once the clear coat has cured, buff and polish the area to restore a smooth, even finish.
Preventing Air Bubbles: Proactive Measures
Prevention is always better than cure. By taking a few precautions, you can significantly reduce the risk of air bubbles:
- Thorough Cleaning: Ensure the surface is completely clean and free of any contaminants before painting.
- Proper Surface Preparation: Use the appropriate sanding techniques and primers to create a smooth, even base for the paint.
- Controlled Environment: Paint in a well-ventilated area with controlled temperature and humidity.
- Thin Coats: Apply thin, even coats of paint and allow each coat to dry properly.
“Proper preparation is key,” says renowned automotive paint specialist, John Davies. “Taking the time to properly prepare the surface will save you a lot of headaches down the road.”
When to Seek Professional Help
While minor bubbling can often be fixed DIY, more extensive damage may require the expertise of a professional. If the bubbling is widespread or if you’re uncomfortable tackling the repair yourself, it’s best to consult a qualified auto body repair shop.
“Don’t be afraid to ask for help,” adds Davies. “Sometimes, the best approach is to let the professionals handle it.”
Conclusion
Fixing air bubbles in car paint can be a manageable task if addressed correctly. By understanding the causes and following the steps outlined in this guide, you can restore your car’s finish to its former glory. Remember that patience and attention to detail are crucial throughout the process. For any further assistance or if you prefer to leave it to the experts, reach out to AutoTipPro at +1 (641) 206-8880 or visit our office at 500 N St Mary’s St, San Antonio, TX 78205, United States.
FAQ
- Can I just pop the air bubbles with a needle? While tempting, this is not recommended. It can create further damage and make the repair more complex.
- What type of sandpaper should I use? Start with fine-grit sandpaper (1500-2000 grit) and progress to finer grits for polishing.
- How long should I wait between coats of paint? Follow the manufacturer’s instructions on the paint can for drying times.
- Can I prevent air bubbles by using a heat gun to dry the paint faster? No, excessive heat can actually cause more bubbling.
- Is it necessary to use a primer? A primer is necessary if you’ve sanded down to the bare metal.
- How long does it take for the clear coat to cure? This varies depending on the product, but typically 24-48 hours.
- What if the air bubbles reappear after the repair? This could indicate a deeper issue, such as rust. Consult a professional for further assessment.


Leave a Reply