A broken car electrical connector can cause a myriad of problems, from a flickering headlight to a complete engine stall. Knowing how to diagnose and fix these connectors can save you time and money. This guide will walk you through the process of troubleshooting and repairing broken car electrical connectors, empowering you to take control of your vehicle’s electrical system.
Identifying the Culprit: Diagnosing a Broken Connector
Before diving into repairs, it’s crucial to pinpoint the faulty connector. Start by checking for obvious signs of damage, such as corrosion, bent pins, or melted plastic. Intermittent electrical issues often point to loose connections. How to fix the horn of a car provides a good example of how a simple loose connection can cause problems.
Using a Multimeter for Accurate Diagnosis
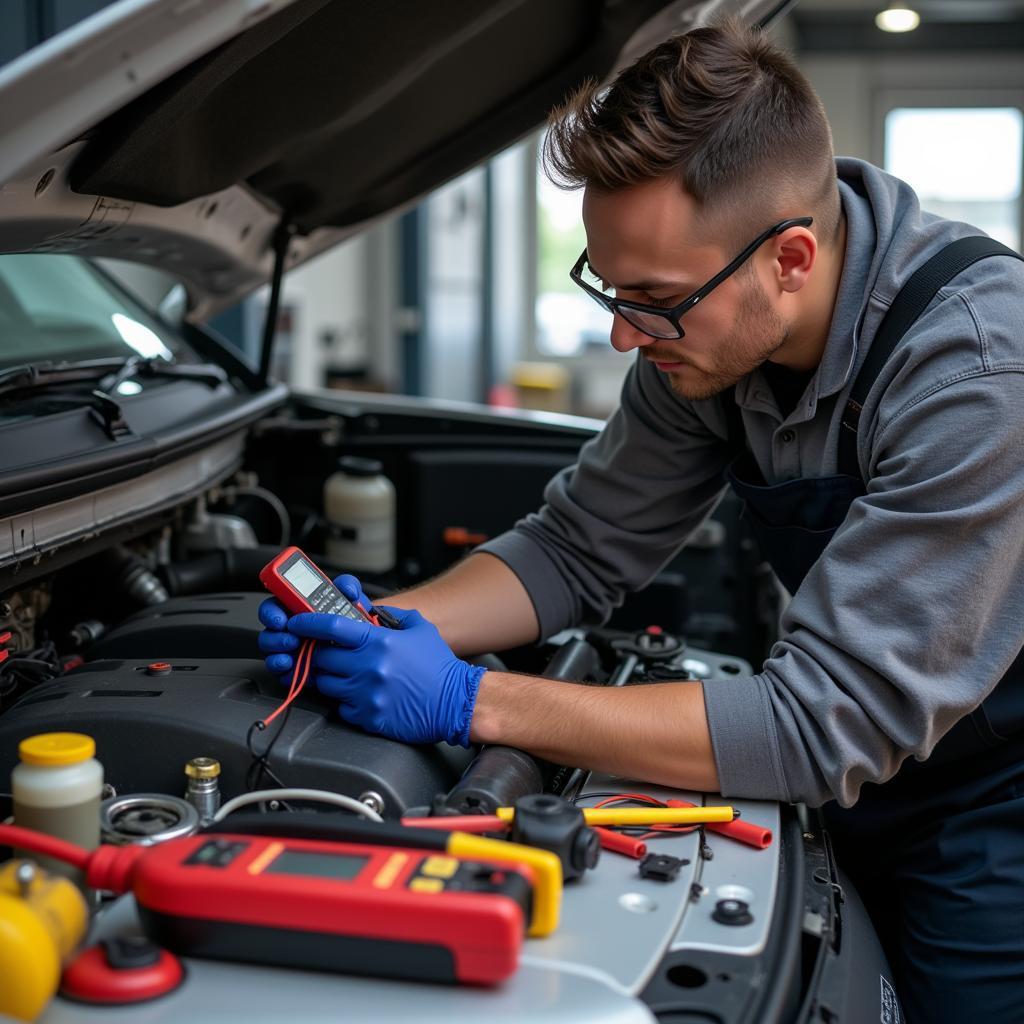
A multimeter is your best friend when dealing with electrical gremlins. It can help you check for continuity, voltage, and resistance, revealing the exact nature of the problem. For instance, if your car horn is malfunctioning, checking the connector with a multimeter, as described in fix your car horn, can help identify the issue.
How to Fix a Broken Car Electrical Connector: Step-by-Step Guide
Once you’ve identified the problematic connector, the repair process can begin.
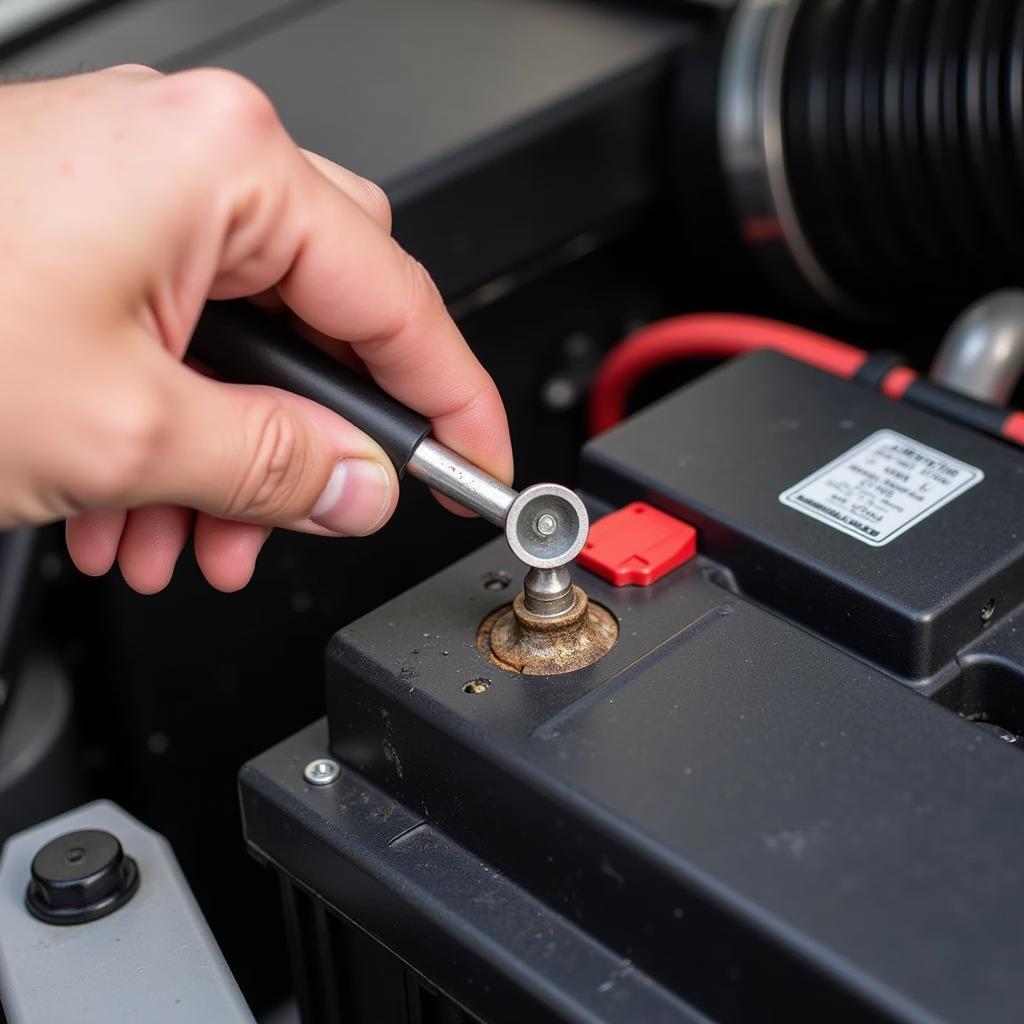
- Disconnect the Battery: Safety first! Always disconnect the negative battery terminal before working on any electrical components.
- Inspect the Connector: Carefully examine the connector for damage. Look for bent pins, corrosion, or broken plastic.
- Clean the Connector: Use a connector cleaner or electrical contact cleaner to remove any dirt, grime, or corrosion. A small brush can help reach tight spots.
- Repair Bent Pins: If the pins are bent, carefully straighten them using a small pick or needle-nose pliers.
- Replace Damaged Parts: If the connector housing is cracked or broken, it’s best to replace the entire connector. You can often find replacement connectors at auto parts stores.
- Reconnect the Connector: Make sure the connector is securely fastened. A loose connection can cause the problem to recur.
- Reconnect the Battery: Once the repair is complete, reconnect the negative battery terminal.
Replacing a Car Electrical Connector
Sometimes, repairing a connector isn’t feasible. In these cases, replacement is the best option. Replacing a connector is relatively straightforward. Ensure you purchase the correct replacement part by matching the part number from the old connector.
“A properly functioning electrical system is vital for a safe and reliable vehicle. Don’t hesitate to seek professional help if you’re uncomfortable working with electrical components.” – John Smith, Automotive Electrical Engineer.
Common Causes of Broken Car Electrical Connectors
Understanding the common causes of connector failure can help you prevent future problems. Exposure to the elements, vibration, and excessive heat can all contribute to connector damage. Sometimes, a broken door handle can even indirectly affect the electrical system, as explained in how to fix a car door handle hyundai accent.
Conclusion
Knowing How To Fix Broken Car Electrical Connectors is a valuable skill for any car owner. By following the steps outlined in this guide, you can often diagnose and repair these issues yourself, saving you time and money. If you’re facing issues with your car’s electrical charging system, you might find this article helpful: how to fix a micro charger car. Sometimes, issues with your gas meter might seem electrical, so checking out how to fix the gas meter on a car can also be beneficial. For personalized assistance, connect with us at AutoTipPro. Call us at +1 (641) 206-8880 or visit our office at 500 N St Mary’s St, San Antonio, TX 78205, United States. We are here to help you get back on the road!


Leave a Reply