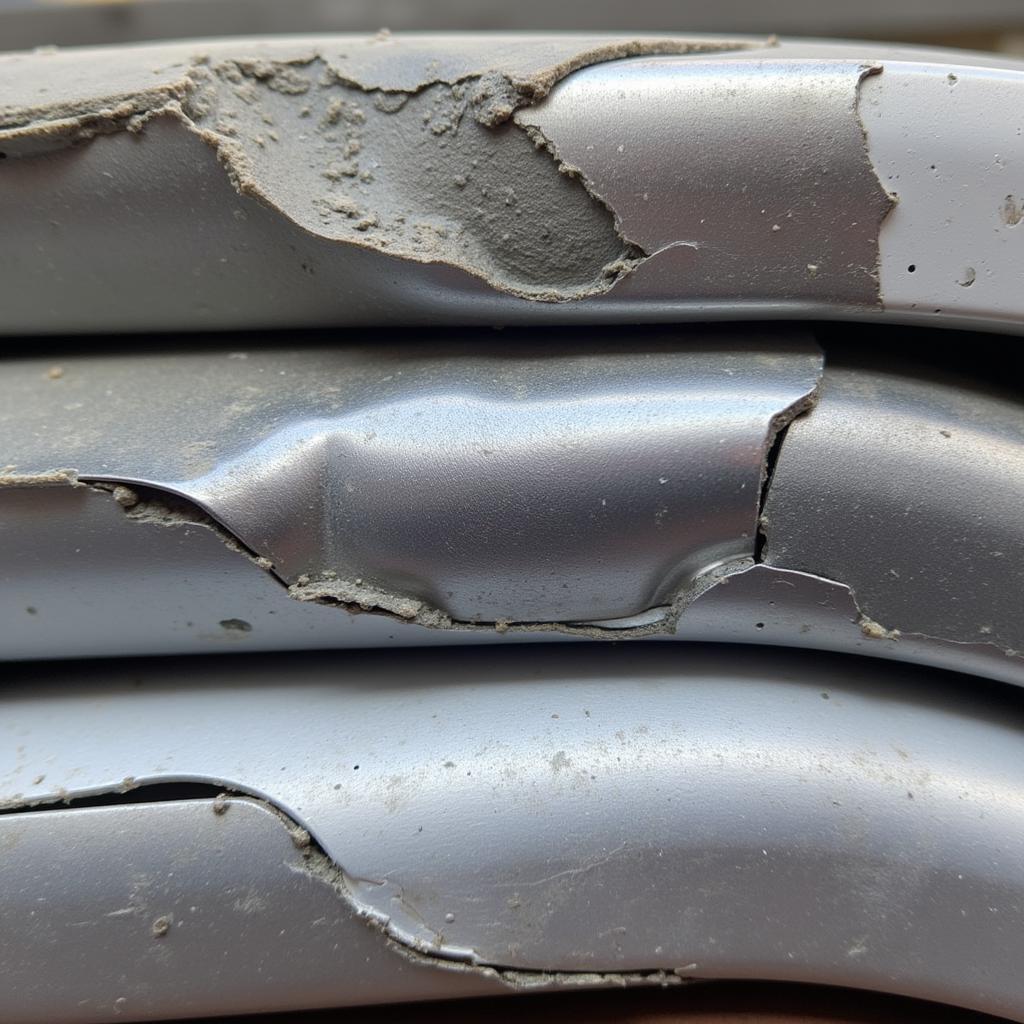
Car paint bubbles, a frustrating sight for any car owner, indicate a problem beyond mere aesthetics. This guide will delve into the causes of these unsightly blemishes and provide a comprehensive walkthrough on How To Fix Car Paint Bubbles effectively. Learn how to tackle this issue yourself or find professional help for a flawless finish.
Car paint bubbling, also known as paint blistering, occurs when the paint film lifts away from the underlying surface, creating small, raised bubbles. This can be caused by a variety of factors, including moisture trapped beneath the paint, poor surface preparation before painting, or exposure to harsh chemicals. Ignoring these bubbles can lead to further damage, including rust and peeling paint, so addressing the problem promptly is crucial.
Understanding the Causes of Car Paint Bubbles
Identifying the root cause of your car paint bubbles is the first step toward a successful repair. Several factors can contribute to this issue:
- Moisture: Trapped moisture is a common culprit. This can occur if water gets under the paint through a chip or scratch.
- Poor Surface Preparation: Inadequate cleaning or priming before painting can prevent the paint from adhering properly, leading to bubbles.
- Sun Damage: Excessive exposure to UV rays can weaken the paint’s bond, causing it to blister.
- Chemical Exposure: Harsh chemicals, such as road salt or certain cleaning products, can react with the paint and cause bubbling.
- Low-Quality Paint: Using inferior paint can increase the likelihood of bubbling and other paint defects.
How to Fix Car Paint Bubbles: A Step-by-Step Guide
Fixing car paint bubbles requires patience and attention to detail. Here’s a step-by-step guide to help you through the process:
- Assess the Damage: Determine the extent of the bubbling. Small, isolated bubbles might be easier to fix than larger areas.
- Gather Your Supplies: You’ll need sandpaper (various grits), primer, touch-up paint, clear coat, rubbing compound, and polishing compound.
- Prepare the Area: Wash and dry the affected area thoroughly. Then, using fine-grit sandpaper, carefully sand down the bubbles until the surface is smooth.
- Apply Primer: Apply a thin coat of automotive primer to the sanded area. Allow it to dry completely.
- Apply Touch-Up Paint: Carefully apply several thin coats of touch-up paint that matches your car’s color. Let each coat dry before applying the next.
- Apply Clear Coat: Once the paint is dry, apply a clear coat to protect it and add shine.
- Sand and Polish: After the clear coat dries, use fine-grit sandpaper to smooth out any imperfections. Then, use rubbing compound followed by polishing compound to achieve a flawless finish.
Do you have faded leather car seats? Check out how to fix faded leather car seats.
Seeking Professional Help
While minor bubbling can often be addressed DIY, extensive damage might require professional intervention. If you’re unsure about tackling the repair yourself, consider seeking the advice of an auto body repair specialist. They possess the expertise and tools to restore your car’s paint to its original condition. For some, knowing where to fix car leather seats can be just as challenging as fixing paint bubbles.
“When dealing with car paint bubbles, proper surface preparation is key,” says John Miller, an automotive paint specialist with over 20 years of experience. “A clean, smooth surface ensures optimal adhesion of the new paint, preventing future bubbling.”
Conclusion
Fixing car paint bubbles is essential for maintaining your car’s appearance and preventing further damage. By understanding the causes and following the steps outlined in this guide, you can effectively address this issue. If you need assistance or have extensive damage, don’t hesitate to contact AutoTipPro at +1 (641) 206-8880 or visit our office at 500 N St Mary’s St, San Antonio, TX 78205, United States. Are you wondering can you fix leather car seats? We can help with that too! We’re experts at fixing leather car seat and other car repairs. We can also help you with how to fix car paint bubbles.
“Remember, patience is crucial during the repair process,” adds Miller. “Taking your time and applying thin coats will result in a professional-looking finish.” Have you ever had to deal with how to fix car paint bubbles? Share your experiences!
If you are interested in learning more about maintaining your car’s leather interior, check out this helpful resource on how to fix car leather seats with leather doctor.
FAQ
-
Can I use any type of primer for car paint repair? No, it’s important to use an automotive primer specifically designed for car paint.
-
How long does it take for the paint to dry completely? Drying times vary depending on the type of paint and environmental conditions. Always follow the manufacturer’s instructions.
-
What if the bubbles reappear after the repair? This could indicate a deeper issue, such as rust or moisture trapped beneath the surface. Consult a professional for further assessment.
-
Is it necessary to apply a clear coat? Yes, a clear coat protects the paint from UV damage and adds a glossy finish.
-
Can I fix car paint bubbles in direct sunlight? No, avoid working in direct sunlight as it can affect the drying process and the overall quality of the repair.
-
What grit sandpaper should I use for sanding car paint bubbles? Start with a finer grit sandpaper (around 1500-2000 grit) to avoid excessive removal of the paint.
-
How can I prevent car paint bubbles from forming in the future? Regularly wash and wax your car, address any chips or scratches promptly, and park in shaded areas whenever possible.


Leave a Reply