Car scratches are an unfortunate reality of car ownership. Whether it’s a rogue shopping cart, a careless driver, or even just a low-hanging branch, your car’s paint is constantly at risk. Luckily, minor scratches can often be tackled at home with a car scratch repair kit. This guide will walk you through How To Fix Car Scratch Repair Kit effectively and restore your car’s finish.
Fixing minor car scratches yourself can save you a significant amount of money compared to a professional repair. A car scratch fix kit is a relatively inexpensive and readily available solution for superficial damage. It’s important to assess the scratch’s depth before you start. If the scratch is deep enough to expose the metal underneath the paint, a DIY approach might not be sufficient, and you’re better off consulting a professional. You can find more information about deeper scratches in our article on how to fix paint coming off car.
Understanding Your Car Scratch Repair Kit
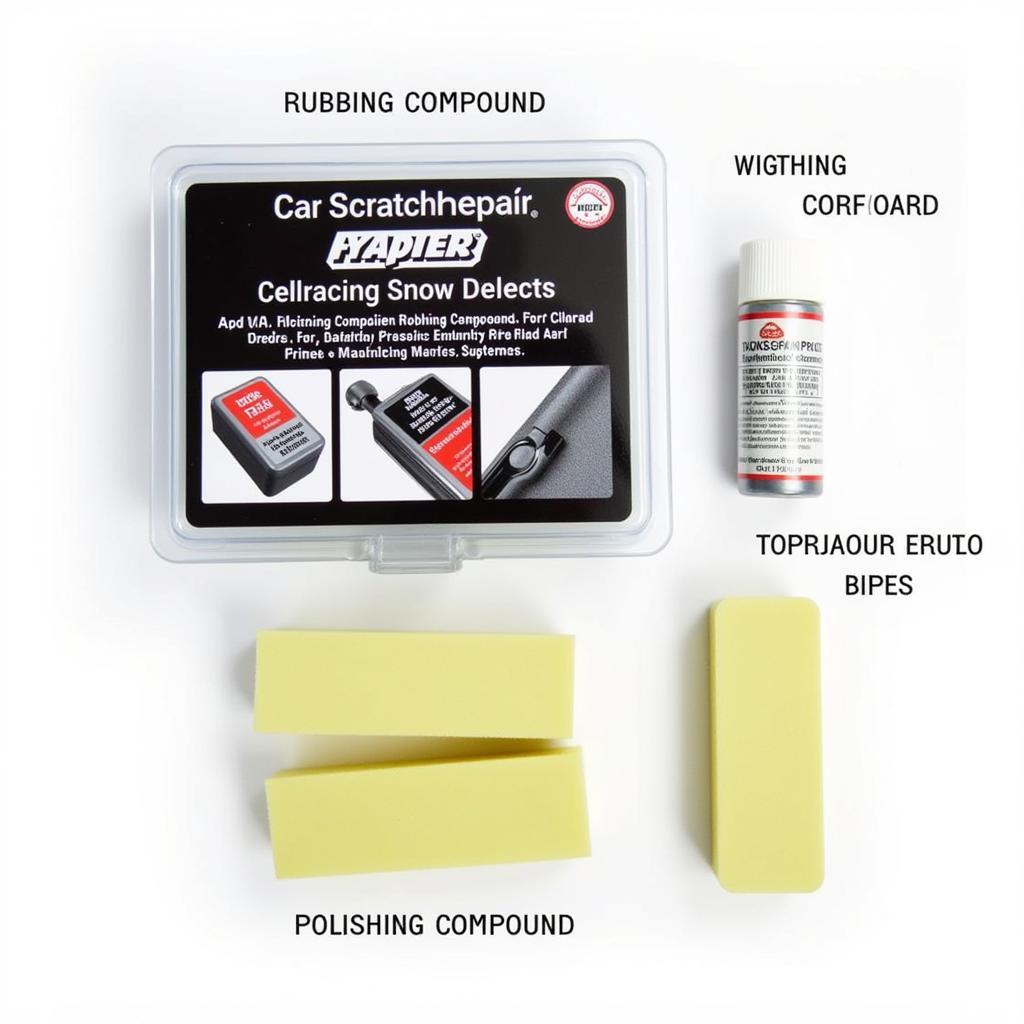
Before diving into the repair process, it’s essential to understand the components of your car scratch repair kit. Most kits typically include rubbing compound, polishing compound, applicator pads, and sometimes even a primer if the scratch is deep. Knowing the function of each component will ensure you use them correctly and achieve the best results.
Deciphering the Components of a Typical Kit
- Rubbing Compound: This is the first step in the process, designed to level out the scratch and remove any loose paint or debris. It’s abrasive, so use it carefully.
- Polishing Compound: After the rubbing compound, the polishing compound smooths the area further and restores shine.
- Applicator Pads: These are used to apply the compounds evenly and prevent swirling.
- Primer (Optional): If the scratch is deep enough to expose the metal, a primer is necessary to prevent rust and create a base for the paint repair.
 Car Scratch Repair Kit Contents
Step-by-Step Guide to Using a Car Scratch Repair Kit
Once you’re familiar with your kit’s contents, you can begin the repair process. Remember, patience is key. Rushing through the steps can lead to unsatisfactory results.
- Clean the Area: Thoroughly wash and dry the scratched area. This removes any dirt or grime that could interfere with the repair process.
- Assess the Scratch: Determine the depth and severity of the scratch. This will help you decide whether a DIY repair is suitable. For deeper scratches or damaged car door corners, check out our guide on how to fix car door corner.
- Apply Rubbing Compound: Using an applicator pad, apply a small amount of rubbing compound to the scratched area. Rub in a circular motion, applying gentle pressure.
- Wipe Away Excess Compound: After rubbing, wipe away the excess compound with a clean microfiber cloth.
- Apply Polishing Compound: Now, apply the polishing compound using a clean applicator pad. Again, rub in a circular motion, but with less pressure than the rubbing compound.
- Buff to a Shine: Finally, buff the area with a clean microfiber cloth until the area shines.
“Remember, less is more when it comes to rubbing compound. Start with a small amount and add more if needed. Too much pressure can damage the surrounding paint,” says automotive expert, John Peterson.
Deep Scratches: When to Call a Professional
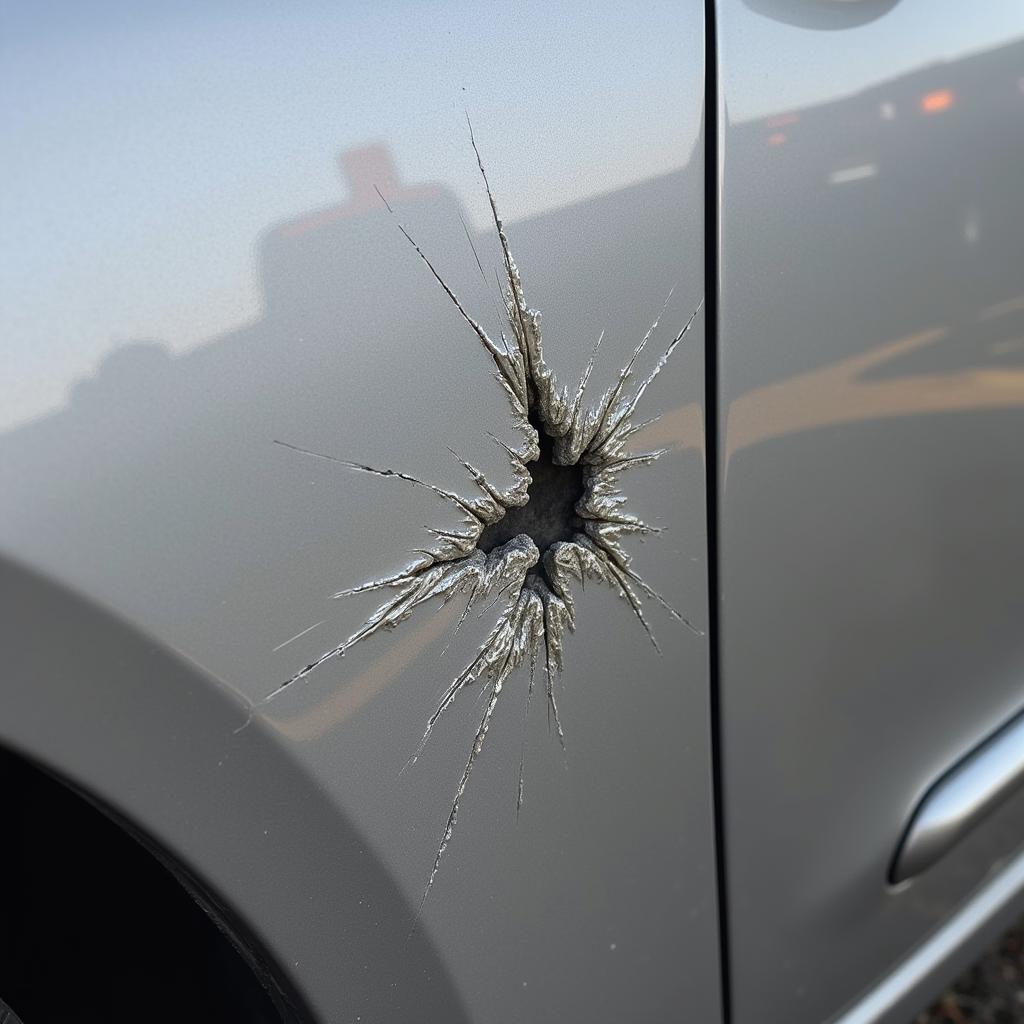
While car scratch repair kits are effective for minor scratches, deeper scratches require professional attention. If you can see the metal or primer underneath the paint, it’s best to consult a professional. Attempting to repair deep scratches yourself could worsen the damage and lead to more costly repairs down the line.
Recognizing the Limits of a DIY Approach
- Exposed Metal or Primer: This indicates a deep scratch that requires more than just a surface repair.
- Extensive Damage: Large or numerous scratches are best left to the professionals.
- Cracked Paint: If the paint is cracked or flaking, a DIY repair is unlikely to be effective.
If you’re dealing with a dent rather than a scratch, you can find some helpful tips in our guide on fixing car dent with hot water and plunger. For scratches on your car window, refer to our article on how to fix a scratched car window.
 Deep Car Scratch Exposing Metal
“Trying to fix a deep scratch yourself without the right tools and experience can often create more problems than it solves,” advises Sarah Miller, a seasoned auto body technician.
Maintaining Your Car’s Finish After Repair
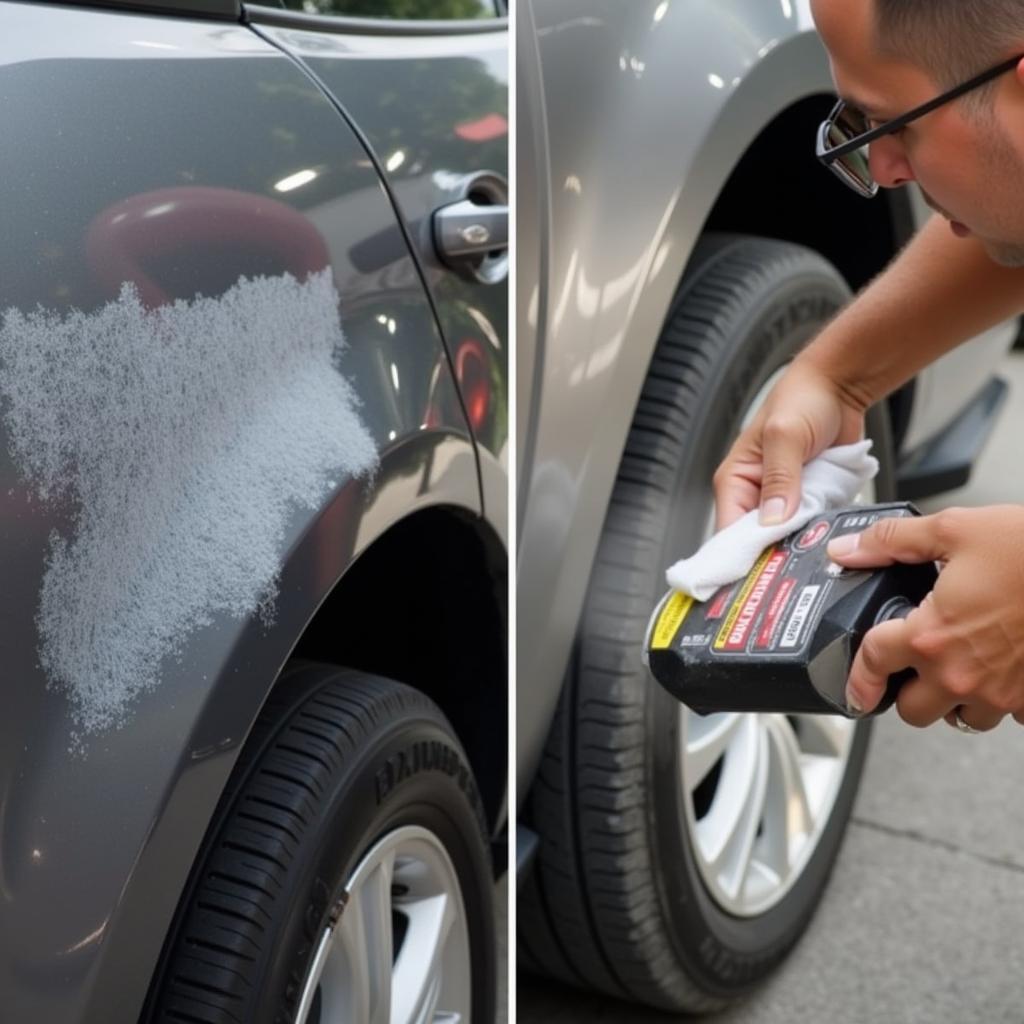
After successfully repairing a scratch, it’s crucial to maintain your car’s finish to prevent future damage. Regular washing and waxing will protect the paint and keep it looking its best.
Protecting Your Car’s Paint
- Regular Washing: Wash your car regularly to remove dirt and grime that can scratch the paint.
- Waxing: Applying wax creates a protective layer over the paint, helping to prevent minor scratches.
 Car Being Waxed After Scratch Repair
In conclusion, using a car scratch fix kit can be a cost-effective way to address minor scratches and keep your car looking its best. However, it’s essential to assess the damage accurately and follow the instructions carefully. For deeper scratches, always consult a professional. We at AutoTipPro are always ready to help you with your car maintenance and repair needs. Feel free to contact us at +1 (641) 206-8880 or visit our office at 500 N St Mary’s St, San Antonio, TX 78205, United States.


Leave a Reply