Fiberglass car parts, especially on the front of the car, are prone to chips and cracks due to road debris and minor impacts. Knowing How To Fix Chips In Fiberglass On Front Of Car is essential for maintaining your vehicle’s appearance and preventing further damage. This guide will provide a comprehensive, step-by-step approach to repairing those annoying fiberglass chips.
Repairing fiberglass chips isn’t as daunting as it might seem. With the right tools and a little patience, you can achieve professional-looking results right in your driveway. Let’s dive into the process.
Understanding Fiberglass Car Repair
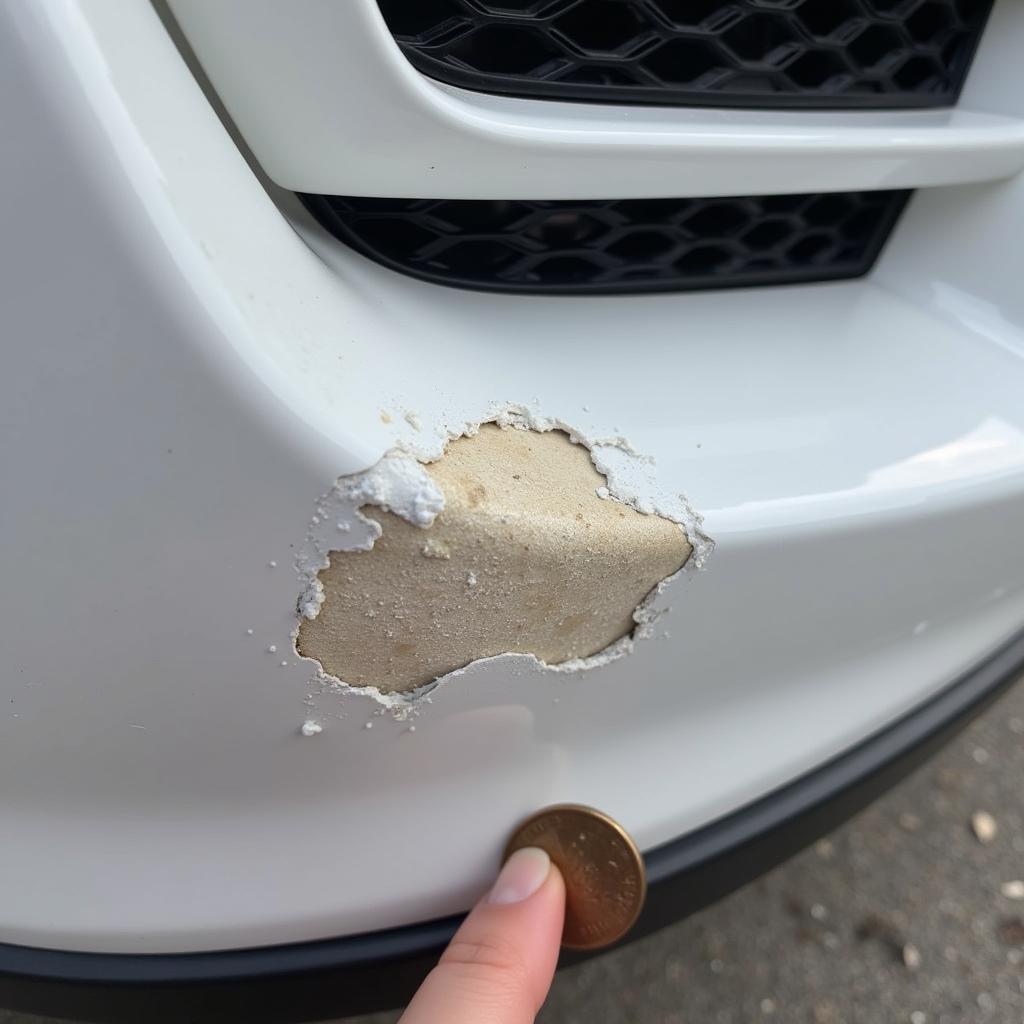
Before starting any repair, it’s crucial to understand the nature of fiberglass. It’s a composite material made of glass fibers embedded in a resin. This combination makes it strong and lightweight, ideal for car parts like bumpers, fenders, and hoods. However, it’s also susceptible to chipping and cracking. Identifying the extent of the damage is the first step towards a successful repair.
 Assessing Fiberglass Damage on Car Front
Gathering Your Fiberglass Chip Repair Supplies
Having the right tools makes the job easier and ensures a better outcome. For repairing fiberglass chips, you’ll need:
- Sandpaper (various grits)
- Fiberglass resin and hardener
- Mixing sticks and containers
- Masking tape and paper
- Filler putty (specifically for fiberglass)
- Primer and paint (matching your car’s color)
- Clear coat
- Safety glasses and gloves
Make sure to purchase high-quality materials for optimal results and longevity of the repair. You may find it helpful to check out resources on fixing minor fiberglass cracks in car surfaces.
Step-by-Step Guide to Fixing Fiberglass Chips
-
Clean and Prepare the Area: Thoroughly clean the chipped area with soap and water, removing any dirt, grease, or wax. Dry the area completely before proceeding.
-
Sand the Damaged Area: Using coarse sandpaper, sand the chipped area to remove any loose fiberglass and create a rough surface for the resin to adhere to. Gradually move to finer grits to smooth the surface.
-
Mask the Surrounding Area: Use masking tape and paper to protect the surrounding paint from overspray and spills.
-
Mix the Resin and Hardener: Following the manufacturer’s instructions, carefully mix the fiberglass resin and hardener in the correct proportions.
-
Apply the Resin: Using a small brush or spreader, carefully apply the resin to the chipped area, ensuring it fills the chip completely. Allow the resin to cure according to the manufacturer’s instructions.
-
Apply Filler Putty: Once the resin has cured, apply fiberglass filler putty to smooth out any imperfections and create a level surface.
-
Sand the Putty: After the putty has dried, sand the area smooth using progressively finer grits of sandpaper. Ensure the repaired area is flush with the surrounding surface. You might also want to understand how to fix a scratch on a car bumper, as the sanding techniques are similar.
-
Prime and Paint: Apply primer to the repaired area, followed by several thin coats of paint that matches your car’s color. Allow each coat to dry before applying the next.
-
Apply Clear Coat: Apply a few coats of clear coat to protect the paint and give it a glossy finish.
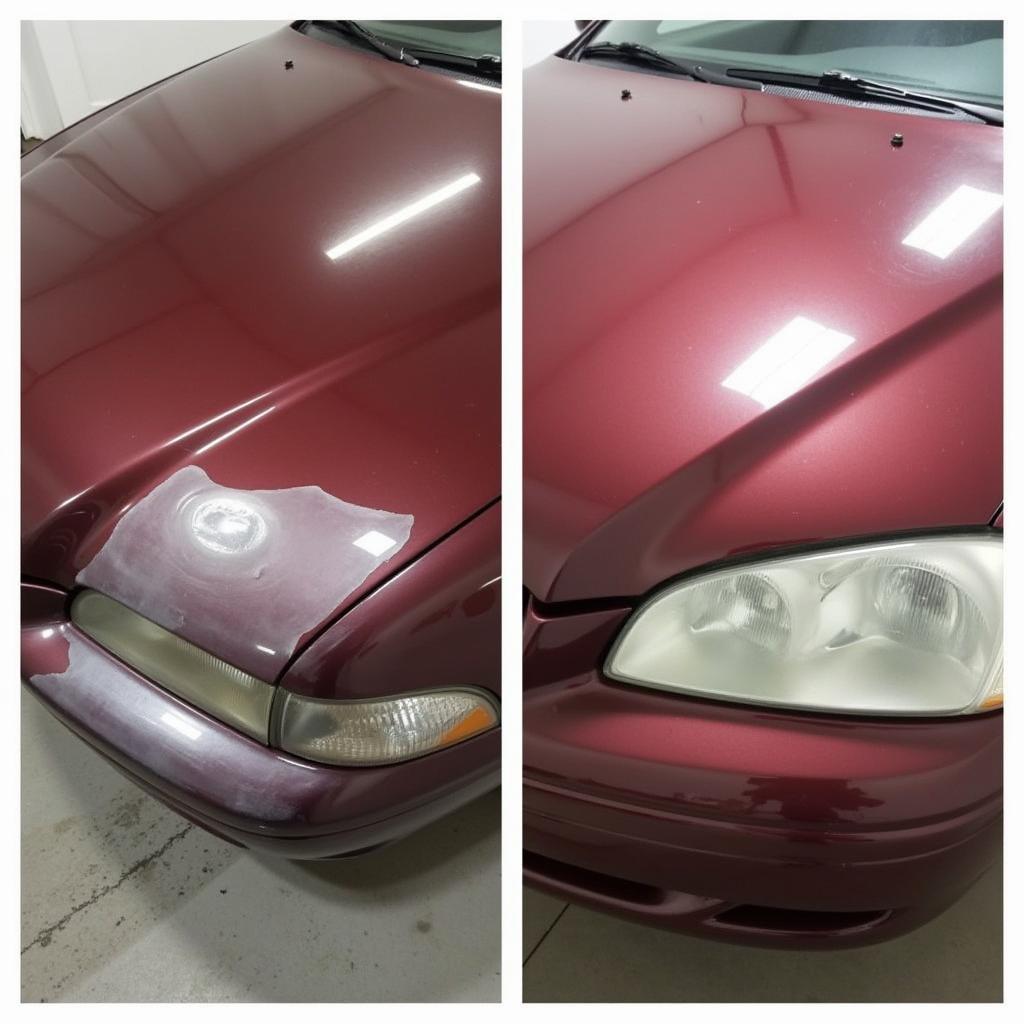
 Finished Fiberglass Chip Repair
- Final Touches: Remove the masking tape and paper. Inspect the repaired area for any imperfections.
Expert Insights on Fiberglass Chip Repair
“A common mistake is not properly preparing the surface before applying the resin. This can lead to poor adhesion and a less durable repair,” says John Smith, Automotive Engineer at Acme Auto Repair. He further adds, “Using high-quality materials is also crucial for a long-lasting repair.” Remember to follow safety precautions, including wearing gloves and eye protection.
Conclusion
Fixing chips in fiberglass on front of car can seem challenging, but by following these steps, you can restore your car’s appearance and prevent further damage. Remember, patience and attention to detail are key. If you’re unsure about any step, don’t hesitate to reach out to a professional. For any other car repair needs like fixing a hole in the roof of a car or even how to fix car glass crack, feel free to contact us at AutoTipPro at +1 (641) 206-8880 or visit our office at 500 N St Mary’s St, San Antonio, TX 78205, United States.


Leave a Reply