Discovering a cigarette burn in your car’s interior can be disheartening. Whether it’s a careless accident or a remnant from a previous owner, these small blemishes can significantly impact the overall aesthetics and value of your vehicle. Fortunately, fixing cigarette burns in car interiors is often possible with the right techniques and a bit of patience. This comprehensive guide will explore various methods to effectively address this common problem, providing you with the knowledge to restore your car’s interior to its former glory.
Assessing the Damage: Fabric vs. Leather
Before diving into repair solutions, it’s crucial to assess the extent of the damage and identify the material of your car’s interior. Different materials require different approaches:
- Fabric Upholstery: Cigarette burns on fabric seats or carpets usually melt fibers, leaving a discolored area with a potentially hardened center.
- Leather Upholstery: On leather seats, cigarette burns typically create a small hole or charred area, damaging the top layer of the material.
DIY Solutions for Fabric Car Interiors
For minor cigarette burns on fabric car interiors, several DIY methods can effectively minimize the damage:
1. Using a Fabric Shaver:
- What you’ll need: A fabric shaver, a soft-bristled brush, and a vacuum cleaner with a crevice attachment.
- Steps: Gently shave off the charred fibers using the fabric shaver. Be careful not to press too hard and damage the surrounding fabric. Use the brush to remove debris and vacuum the area thoroughly.
2. Applying a Mixture of Liquid Detergent and Water:
- What you’ll need: Liquid dish detergent, warm water, a clean cloth, and a dry towel.
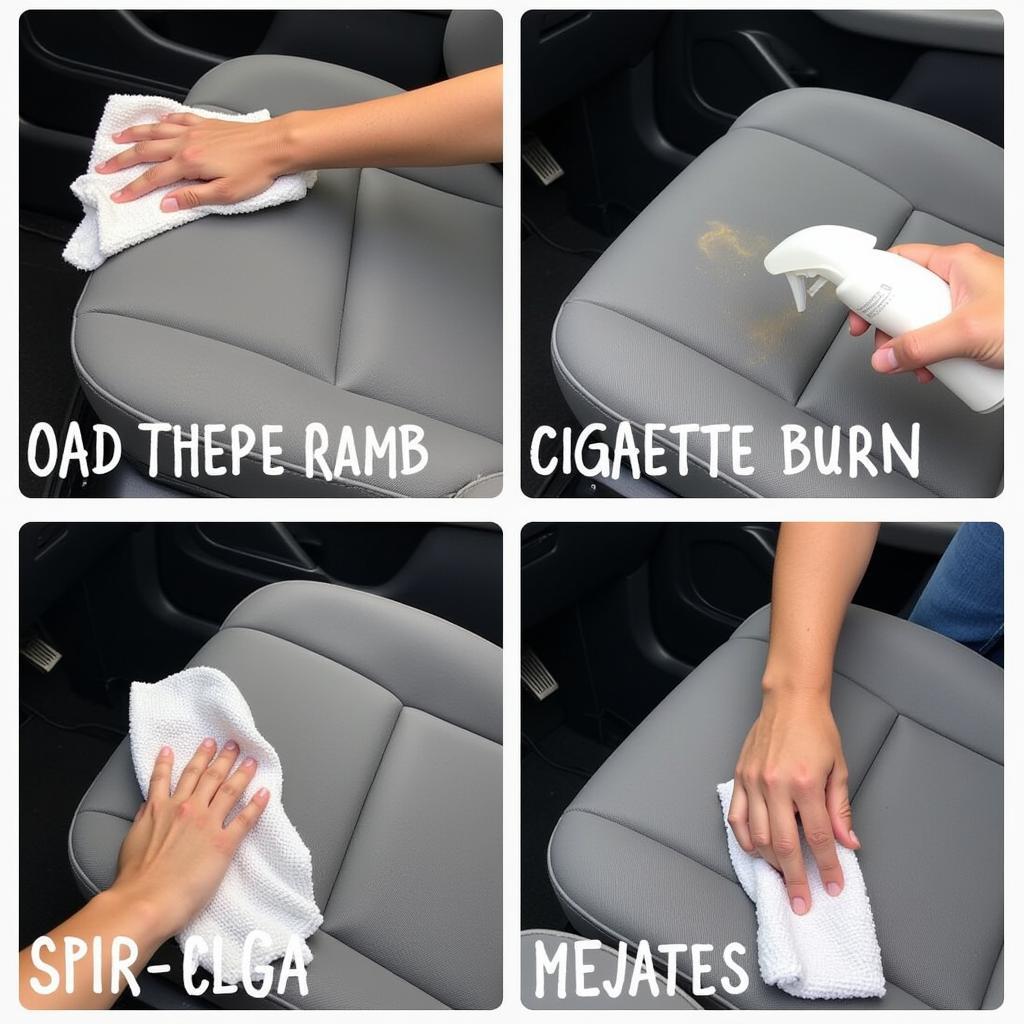
- Steps: Mix a small amount of detergent with warm water. Dip the cloth into the solution and gently dab the burn mark, working from the outside in. Avoid soaking the area. Use a clean, damp cloth to rinse and blot dry with a towel.
 Cleaning Cigarette Burn on Fabric Car Seat
3. Employing a Specialized Fabric Repair Kit:
- What you’ll need: A fabric repair kit matching your car’s interior color.
- Steps: Follow the instructions provided with the kit. These kits typically involve applying a filler compound to the burn mark, allowing it to dry, and then blending it with the surrounding fabric using a color-matching solution.
Professional Repair Options for Leather Car Interiors
For more severe burns or those on delicate leather surfaces, seeking professional help is recommended. Professional automotive upholstery repair shops possess the expertise and specialized tools to effectively address cigarette burns in leather car interiors.
Here are some methods professionals use:
- Leather Filler and Dye: Professionals can fill the burn hole with a specialized leather filler compound. Once dry, they can dye the area to match the surrounding leather, creating a seamless repair.
- Patching: For larger holes, a small leather patch can be taken from a hidden area of the car’s interior (like under the seat) and skillfully grafted onto the damaged area. This method ensures a perfect color match and minimizes the visibility of the repair.
- Seat Cover Replacement: In cases of extensive damage, replacing the affected portion of the seat cover or the entire seat cover might be the most viable option.
“When dealing with leather, it’s best to leave the repair to the experts,” advises John Miller, a seasoned automotive upholstery specialist with over 20 years of experience. “Attempting DIY fixes on leather can sometimes worsen the damage or lead to mismatched color, ultimately lowering the car’s value.”
Preventing Future Cigarette Burns
Prevention is always better than cure. Implementing simple measures can significantly reduce the risk of future cigarette burns in your car’s interior:
- No-Smoking Policy: Enforce a strict no-smoking policy inside your car. This is the most effective way to prevent cigarette burns altogether.
- Ashtrays: If smoking is unavoidable, ensure the car is equipped with functional ashtrays.
- Caution while Smoking: Encourage smokers to exercise extreme caution while smoking inside the car, paying attention to their surroundings and ensuring cigarettes are properly extinguished.
Conclusion
Cigarette burns, while frustrating, are a fixable problem in most cases. By promptly addressing the damage and choosing the right repair method, you can restore your car’s interior to a presentable condition. Remember, professional help is recommended for significant burns, especially on leather upholstery. By following the tips outlined in this guide and prioritizing preventative measures, you can ensure a clean and damage-free interior for years to come.
For expert advice and assistance in repairing cigarette burns in your car’s interior, contact AutoTipPro at +1 (641) 206-8880 or visit our office located at 500 N St Mary’s St, San Antonio, TX 78205, United States.
FAQs about Fixing Cigarette Burns in Cars
1. Can I use baking soda to clean a cigarette burn on a fabric car seat?
While baking soda is known for its cleaning properties, it’s not recommended for cigarette burns on fabric car seats. It can be abrasive and potentially damage the fabric further.
2. Is it possible to fix cigarette burns in car leather myself?
While minor burns might be tackled with DIY leather repair kits, it’s generally advisable to seek professional help for leather repairs. Professionals possess the expertise and tools to ensure a seamless and long-lasting fix.
3. How much to fix leather seat in car?
The cost to fix a leather car seat can vary significantly depending on the extent of the damage, the type of leather, and the repair method employed.
4. What if the cigarette burn has created a strong odor in my car?
How to fix a smoking car often involves a combination of cleaning, odor removal products, and potentially professional detailing to effectively neutralize the smell.
5. Can I fix fabric car seat burns with super glue?
Superglue is not a suitable solution for repairing cigarette burns on fabric car seats. It can create a hard, discolored patch that is difficult to blend with the surrounding fabric.


Leave a Reply