Experiencing a sputtering air suspension system or hearing unusual hissing sounds from your engine bay? You might be dealing with leaky valves on your car’s air compressor. This issue, while common, can lead to significant performance problems if left unattended. Luckily, fixing leaky valves on an air compressor is often a manageable DIY project. This guide will walk you through the steps to diagnose and repair those pesky leaks, empowering you to restore your car’s air system to its former glory.
Understanding Your Air Compressor and Its Valves
Before we delve into the repair process, let’s understand the role of an air compressor and its valves in your car. The air compressor is the beating heart of your vehicle’s air suspension system. Its primary function is to generate pressurized air, providing the necessary force to adjust ride height, ensuring a smooth and comfortable ride.
The valves, often referred to as check valves, are the gatekeepers of this pressurized air system. They ensure a unidirectional flow of air, preventing any backflow that could compromise the system’s efficiency. Over time, these valves can wear down, leading to leaks that diminish the compressor’s ability to maintain optimal pressure.
Common Causes of Leaky Valves
Understanding the common culprits behind leaky valves can help you address the root cause and prevent future issues:
- Wear and Tear: Just like any other component in your vehicle, the constant pressure and heat cycles can take a toll on the valves, leading to wear and tear that eventually results in leaks.
- Debris and Contamination: Small particles of dirt, dust, or debris can lodge themselves between the valve and the seat, preventing a complete seal and causing air to escape.
- Corrosion: Exposure to moisture, especially in humid environments, can lead to corrosion on the valve surface, compromising its ability to form a tight seal.
Diagnosing the Leak
Before jumping into repairs, it’s crucial to confirm that the leaky valves are indeed the source of your air compressor woes. Here’s how to pinpoint the problem:
- Listen Closely: Park your car on a level surface and turn off the engine. Listen carefully around the air compressor for any hissing sounds. A leaking valve will often produce a noticeable hissing sound.
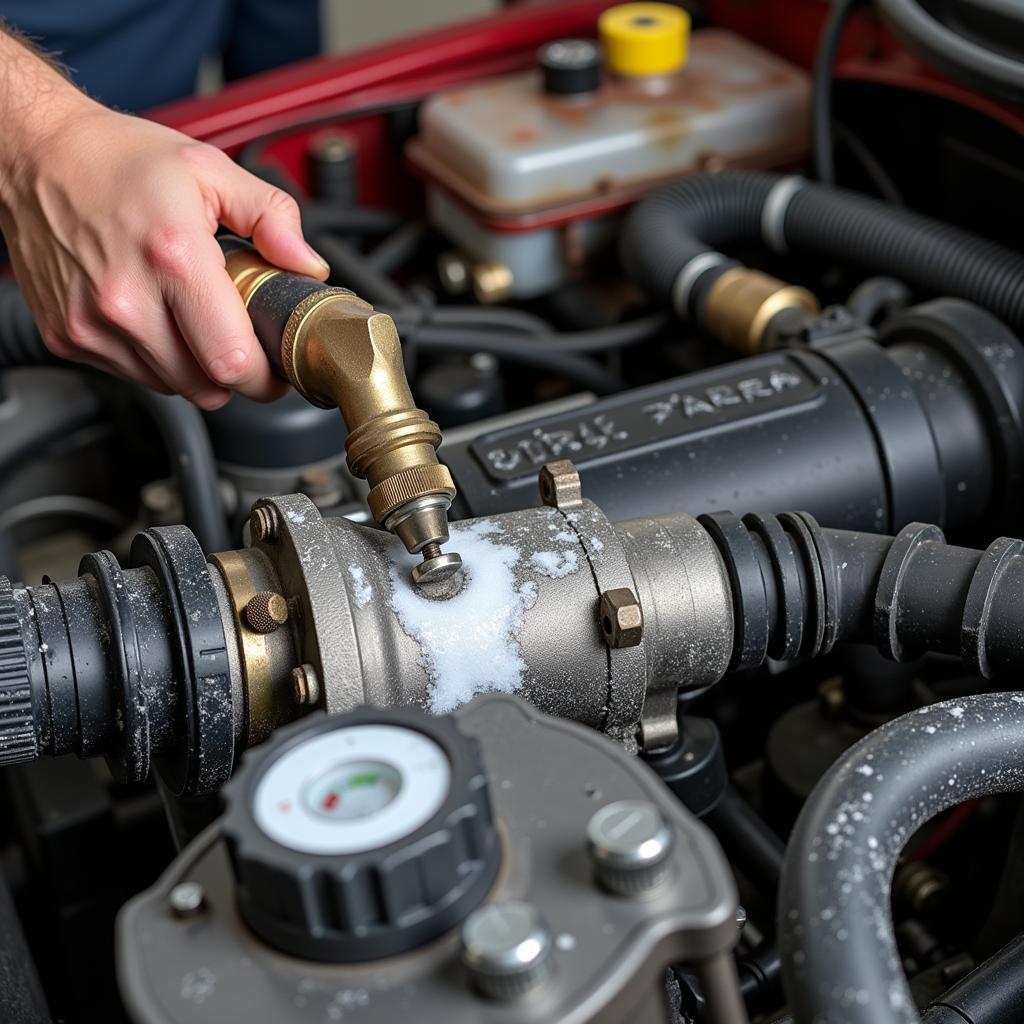
- The Soapy Water Test: Mix a solution of soapy water and spray it generously around the air compressor’s valve area. Look for bubbling at the valve stems, which indicates escaping air.
- Check for Pressure Loss: If you have access to an air pressure gauge, connect it to the air compressor’s output line. Monitor the gauge for any pressure drop while the engine is off.
 Leaking Valve Detection
Gathering Your Tools and Materials
Once you’ve confirmed the leaky valve diagnosis, it’s time to assemble your toolkit for the repair. Here’s what you’ll need:
- Car jack and jack stands
- Wrench set
- Socket set
- Replacement air compressor valves (ensure compatibility with your car model)
- Valve core tool (optional, but highly recommended)
- Shop towels or rags
- Air compressor lubricant
- Safety glasses and gloves
Step-by-Step Guide to Fixing Leaky Valves
With your tools ready, let’s dive into the step-by-step process of replacing the leaky valves:
- Safety First: Disconnect the negative terminal of your car battery to prevent any electrical mishaps.
- Access the Air Compressor: Locate your car’s air compressor, typically found near the engine bay. Consult your car’s repair manual for its exact location.
- Relieve the Pressure: Before disconnecting any lines, release the air pressure from the system. This can be done by starting the engine and allowing the suspension to rise to its maximum height.
- Disconnect the Lines: Carefully disconnect the air lines attached to the air compressor using the appropriate wrenches.
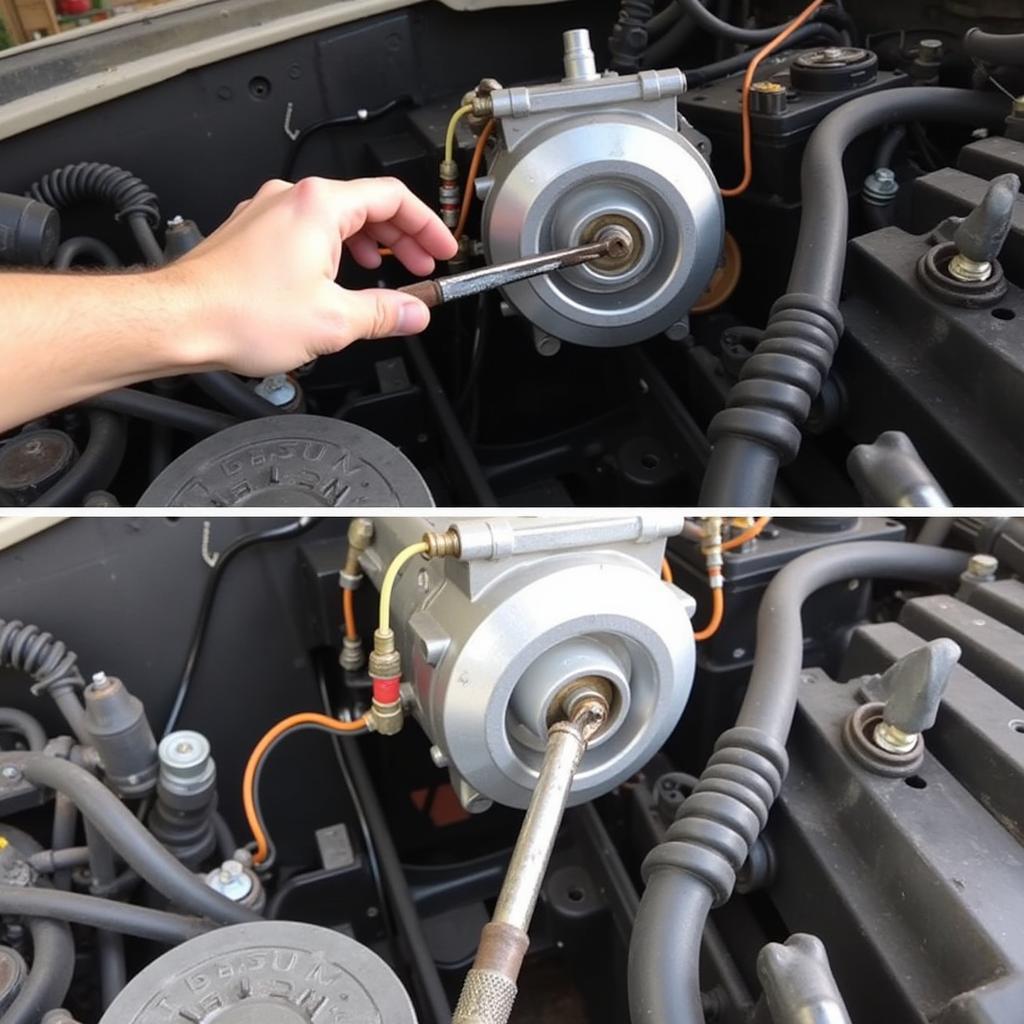
- Remove the Air Compressor: Depending on your car model, you may need to remove the entire air compressor assembly. Use your socket set to loosen and remove the mounting bolts.
 Air Compressor Removal
- Replace the Valves: With the air compressor removed, you can now access the faulty valves. Use the valve core tool to carefully unscrew and remove the old valves. Apply a small amount of air compressor lubricant to the new valve’s O-ring and threads before screwing them in.
- Reinstall the Air Compressor: Reverse the removal process to reinstall the air compressor, ensuring all lines and connections are secure.
- Reconnect the Battery: Reconnect the negative battery terminal.
- Test for Leaks: Start your engine and allow the air suspension system to pressurize. Carefully inspect the valve area for any signs of leaks using the soapy water method again.
Tips from the Expert
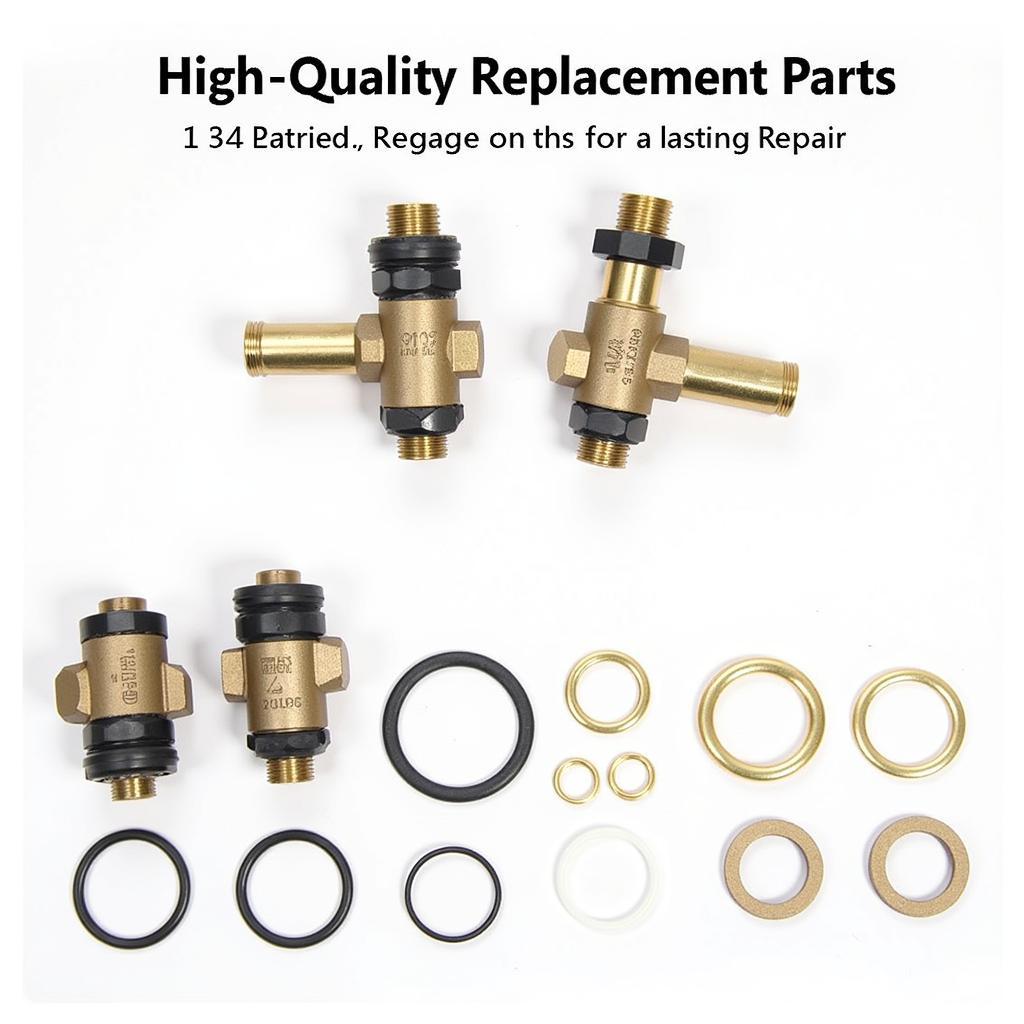
Johnathan Miller, Senior Automotive Engineer at Autotippro, emphasizes the importance of using high-quality replacement valves and lubricant. He advises, “Investing in quality components designed for your car model ensures optimal performance and longevity, preventing premature wear and repeat repairs.”
Miller also recommends paying close attention to the valve O-rings during replacement. “Damaged or worn O-rings can compromise the seal, leading to persistent leaks. Always replace the O-rings with new ones during valve replacement for a reliable fix.”
 New Air Compressor Valves
Conclusion
Addressing leaky valves on your car’s air compressor is crucial for maintaining a smoothly operating air suspension system. By following this comprehensive guide, you can confidently diagnose and repair the issue yourself, saving on costly repairs and enjoying a comfortable ride. Remember, regular maintenance and timely repairs are key to prolonging the lifespan of your car’s air compressor and ensuring its optimal performance.
Need expert assistance with your car’s air compressor system? Contact AutoTipPro at +1 (641) 206-8880 or visit our office at 500 N St Mary’s St, San Antonio, TX 78205, United States. Our team of certified technicians is always ready to assist you.


Leave a Reply