Removing a spacer to fix your car’s AC might sound like a simple task, but it can be more complex than it seems. Understanding when and why this procedure is necessary is crucial for both car owners and mechanics. This guide dives deep into the intricacies of AC spacers, their role in your vehicle’s cooling system, and how removing one might solve your AC woes.
Understanding the Role of AC Spacers
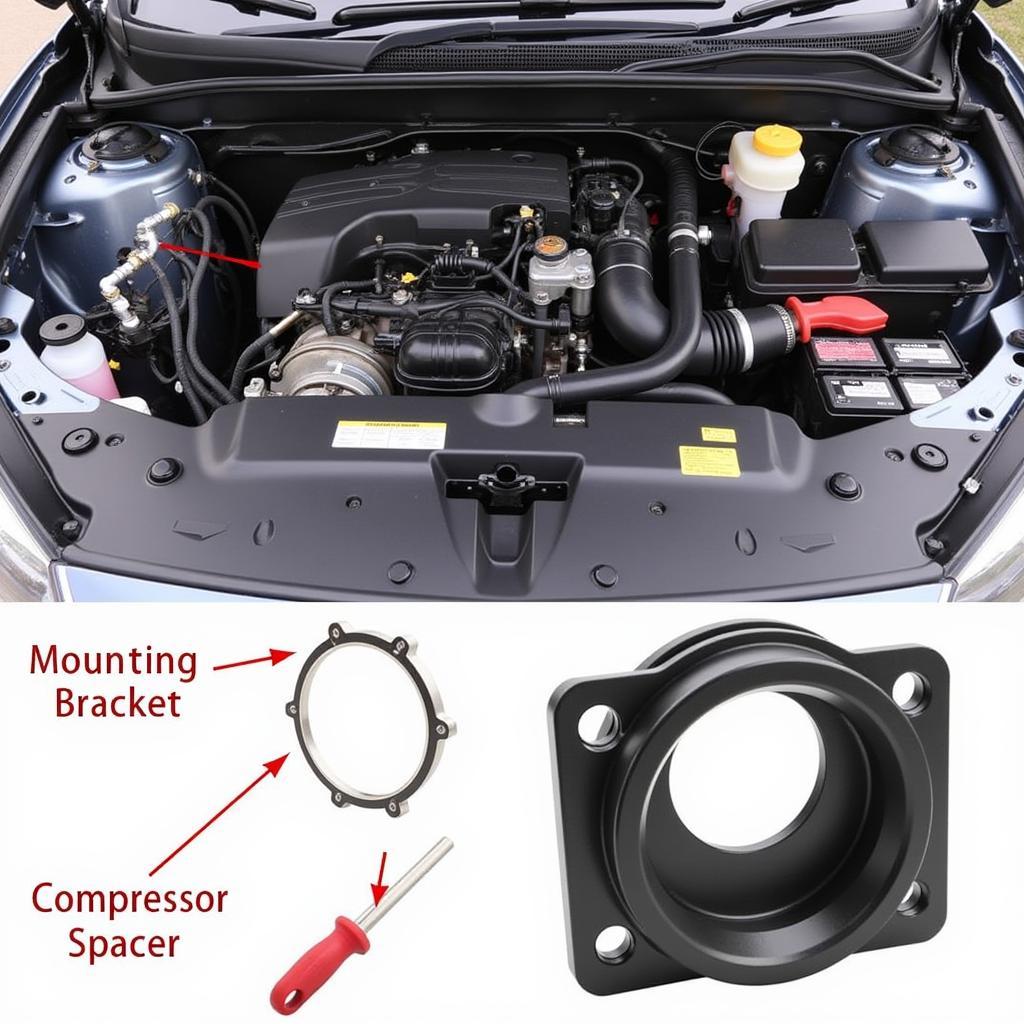
AC spacers, also known as compressor shims, are thin metal discs placed between the AC compressor and its mounting bracket. They play a critical role in maintaining the correct distance and alignment within the AC system. This precise alignment is vital for the compressor’s efficient operation and the overall performance of your car’s AC. An incorrectly positioned compressor can lead to a variety of issues, including reduced cooling performance, unusual noises, and even compressor failure.
Why Would You Need to Remove a Spacer?
Removing an AC spacer is typically done to address specific issues related to compressor clutch engagement or excessive air gap. If the gap is too large, the clutch might not engage properly, resulting in a lack of cooling. Conversely, if the gap is too small, the clutch may be constantly engaged, leading to premature wear and tear. Identifying the root cause of the AC problem is paramount before attempting any adjustments to the spacer configuration.
 AC Compressor Spacer Location
Diagnosing AC Problems Related to Spacers
Before you jump to removing the spacer, it’s essential to diagnose the problem correctly. Incorrectly removing a spacer can exacerbate existing issues or create new ones. Start by checking the AC pressure using a manifold gauge set. Low pressure could indicate a refrigerant leak, while high pressure might point to a blockage.
Checking the Air Gap
Measuring the air gap between the compressor clutch and the pulley is crucial. This measurement helps determine if the spacer is the culprit behind your AC woes. Refer to your vehicle’s service manual for the correct air gap specification. A feeler gauge is the ideal tool for this task. If the gap is outside the specified range, adjusting or removing the spacer might be necessary.
How to Remove an AC Compressor Spacer
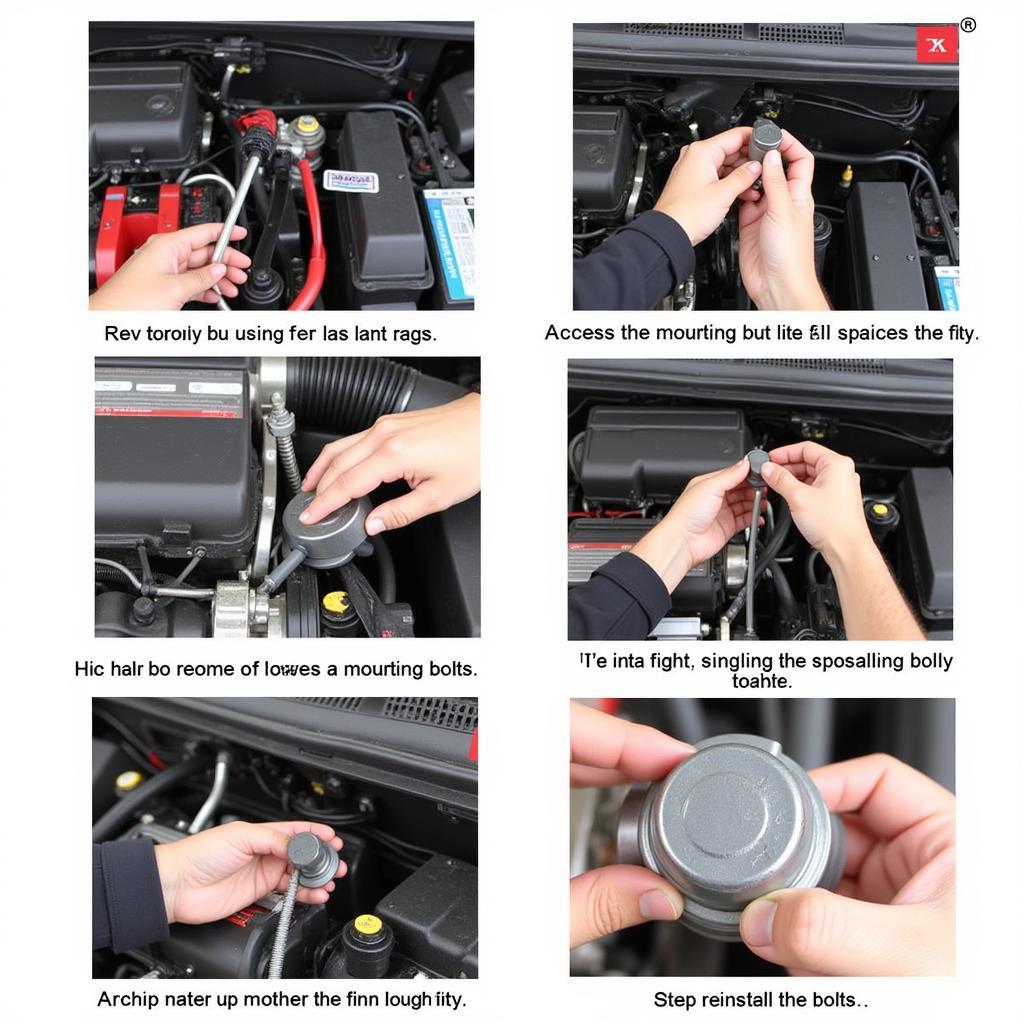
Removing the AC compressor spacer involves a few key steps. However, remember that this procedure can vary slightly depending on the make and model of your vehicle. Always consult your vehicle’s service manual for specific instructions.
- Disconnect the Battery: This is a critical safety precaution to prevent electrical shocks and accidental short circuits.
- Access the AC Compressor: Locate the AC compressor and remove any components obstructing access to the mounting bolts.
- Loosen the Mounting Bolts: Loosen, but do not remove, the bolts securing the compressor to the bracket.
- Remove the Spacer: Carefully remove the spacer from between the compressor and the bracket. You may need to gently pry the compressor away from the bracket to access the spacer.
- Reinstall the Mounting Bolts: Reinstall the mounting bolts and tighten them to the manufacturer’s specified torque.
- Reconnect the Battery: Reconnect the battery and test the AC system.
Important Considerations
- Proper Tools: Using the correct tools is essential for a successful and safe removal process.
- Cleanliness: Ensure the area around the compressor is clean to prevent debris from entering the system.
- Safety: Always wear safety glasses and gloves when working on your car’s AC system.
 Removing AC Compressor Spacer
When to Seek Professional Help
While removing an AC spacer can be a DIY project for experienced individuals, it’s crucial to know your limitations. If you are uncomfortable working on your car’s AC system, it’s always best to seek professional assistance. Incorrectly handling the AC system can lead to costly repairs.
“Remember, a correct diagnosis is half the battle. Don’t jump to conclusions without thoroughly checking your system,” advises John Miller, a seasoned automotive technician with over 20 years of experience. “A simple air gap measurement can save you time and money.”
In conclusion, removing a spacer to fix your car’s AC can be an effective solution, but it’s vital to understand the underlying cause of the problem. Proper diagnosis, correct tools, and careful execution are crucial for a successful repair. If you’re unsure about any step of the process, don’t hesitate to contact a qualified mechanic. Need help? Contact AutoTipPro at +1 (641) 206-8880 or visit our office at 500 N St Mary’s St, San Antonio, TX 78205, United States.
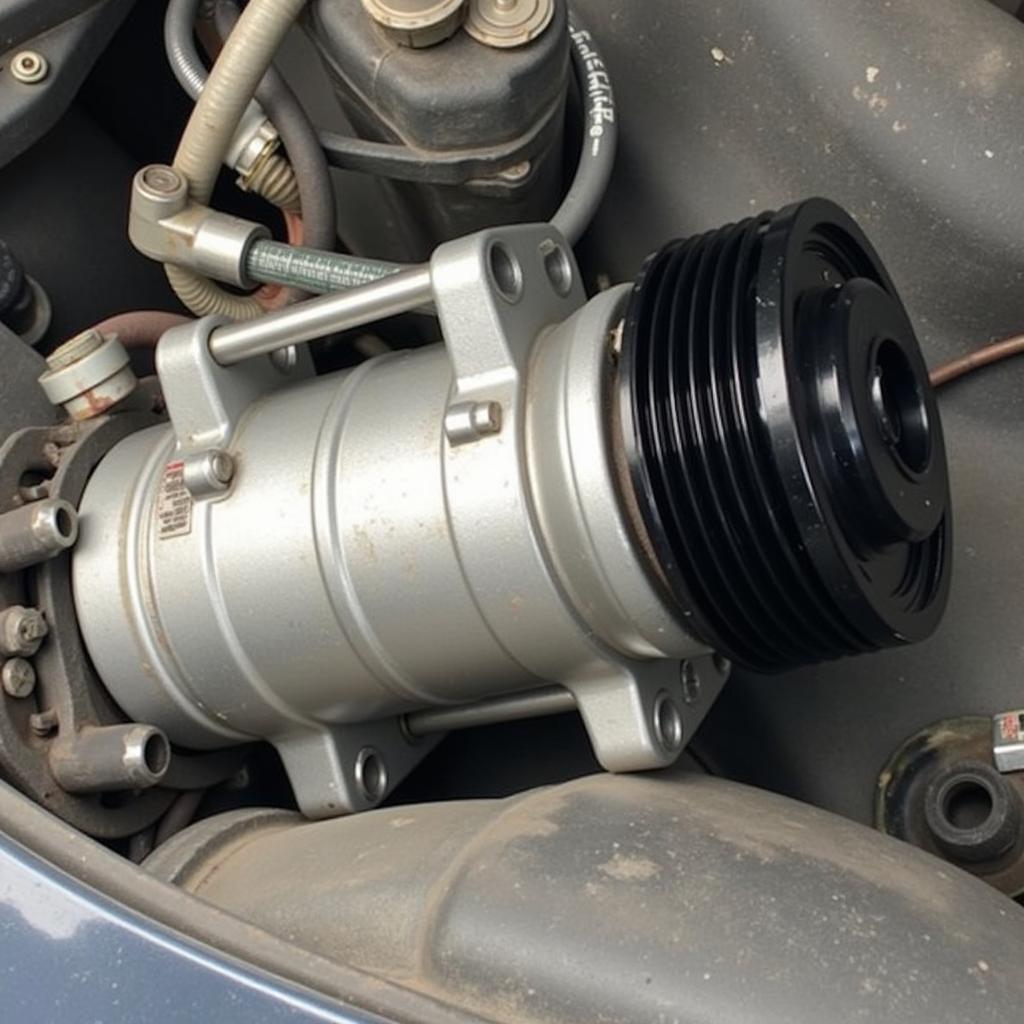
 Reinstalled AC Compressor
FAQ
- What is an AC spacer? An AC spacer is a small metal disc used to maintain proper alignment between the AC compressor and its mounting bracket.
- Why would I need to remove an AC spacer? Removing a spacer can correct issues with compressor clutch engagement or excessive air gap.
- How do I measure the air gap? Use a feeler gauge to measure the distance between the compressor clutch and the pulley.
- Is removing an AC spacer a DIY project? It can be, but if you’re unsure, consult a professional.
- What are the risks of incorrectly removing a spacer? Incorrect removal can damage the compressor or other AC components.
- What tools do I need to remove a spacer? You’ll need wrenches, a feeler gauge, and possibly a pry bar.
- What should I do if my AC still doesn’t work after removing the spacer? Consult a qualified mechanic to diagnose and resolve the issue.


Leave a Reply